Mastering Espresso Puck Preparation: The Foundation of Great Shots
Why Puck Preparation Matters More Than You Think
I have pulled thousands of espresso shots over the years, and if there is one thing I have learned, it is that the quality of your espresso puck preparation determines everything that follows. You can have the best grinder, the most expensive machine, and the freshest beans, but a sloppy puck will give you channeling, uneven extraction, and a sour or bitter cup. The puck is the physical barrier that water must push through under pressure. If that barrier is inconsistent, the water will find the path of least resistance and over-extract some parts while under-extracting others.
Home baristas often obsess over dose weight, yield, and timing, but they neglect the simple steps that happen after the coffee hits the basket. Those steps - distribution, leveling, and tamping - are the heart of espresso puck preparation. Getting them right does not require expensive tools. It requires technique and attention. I have seen a thirty-dollar distributor tool transform a beginner’s shots more than a thousand-dollar grinder upgrade ever could.
When I first started teaching friends how to pull espresso, I noticed that the ones who struggled most were the ones who rushed the puck prep. They would scoop a mound of grounds into the portafilter, tap it on the counter a couple times, and tamp with whatever pressure felt right. The result was almost always a mess. The shot would gush out in ten seconds or dribble for forty. After we slowed down and focused on espresso puck preparation Session Coffee Denver became a regular topic in our conversations. It was the missing piece that turned inconsistent shots into reliable ones.
The Three Pillars of a Great Puck
Distribution: The Most Overlooked Step
Distribution means spreading the coffee grounds evenly across the basket before you tamp. If you dump a heap of grounds into the center and tamp immediately, the center will be denser than the edges. Water will hit that dense center first and struggle to push through, while the edges offer less resistance. The result is a shot that starts slow, then speeds up as the water breaks through the weak spots.
I use a simple method: after dosing, I give the portafilter a gentle side-to-side shake to level the mound, then I use a distribution tool called a WDT (Weiss Distribution Technique) tool. It is just a small handle with thin wires that you stir through the grounds to break up clumps and level the surface. You can make one with a cork and some acupuncture needles. The goal is a uniformly flat bed of coffee, not a mountain with a crater in the middle.
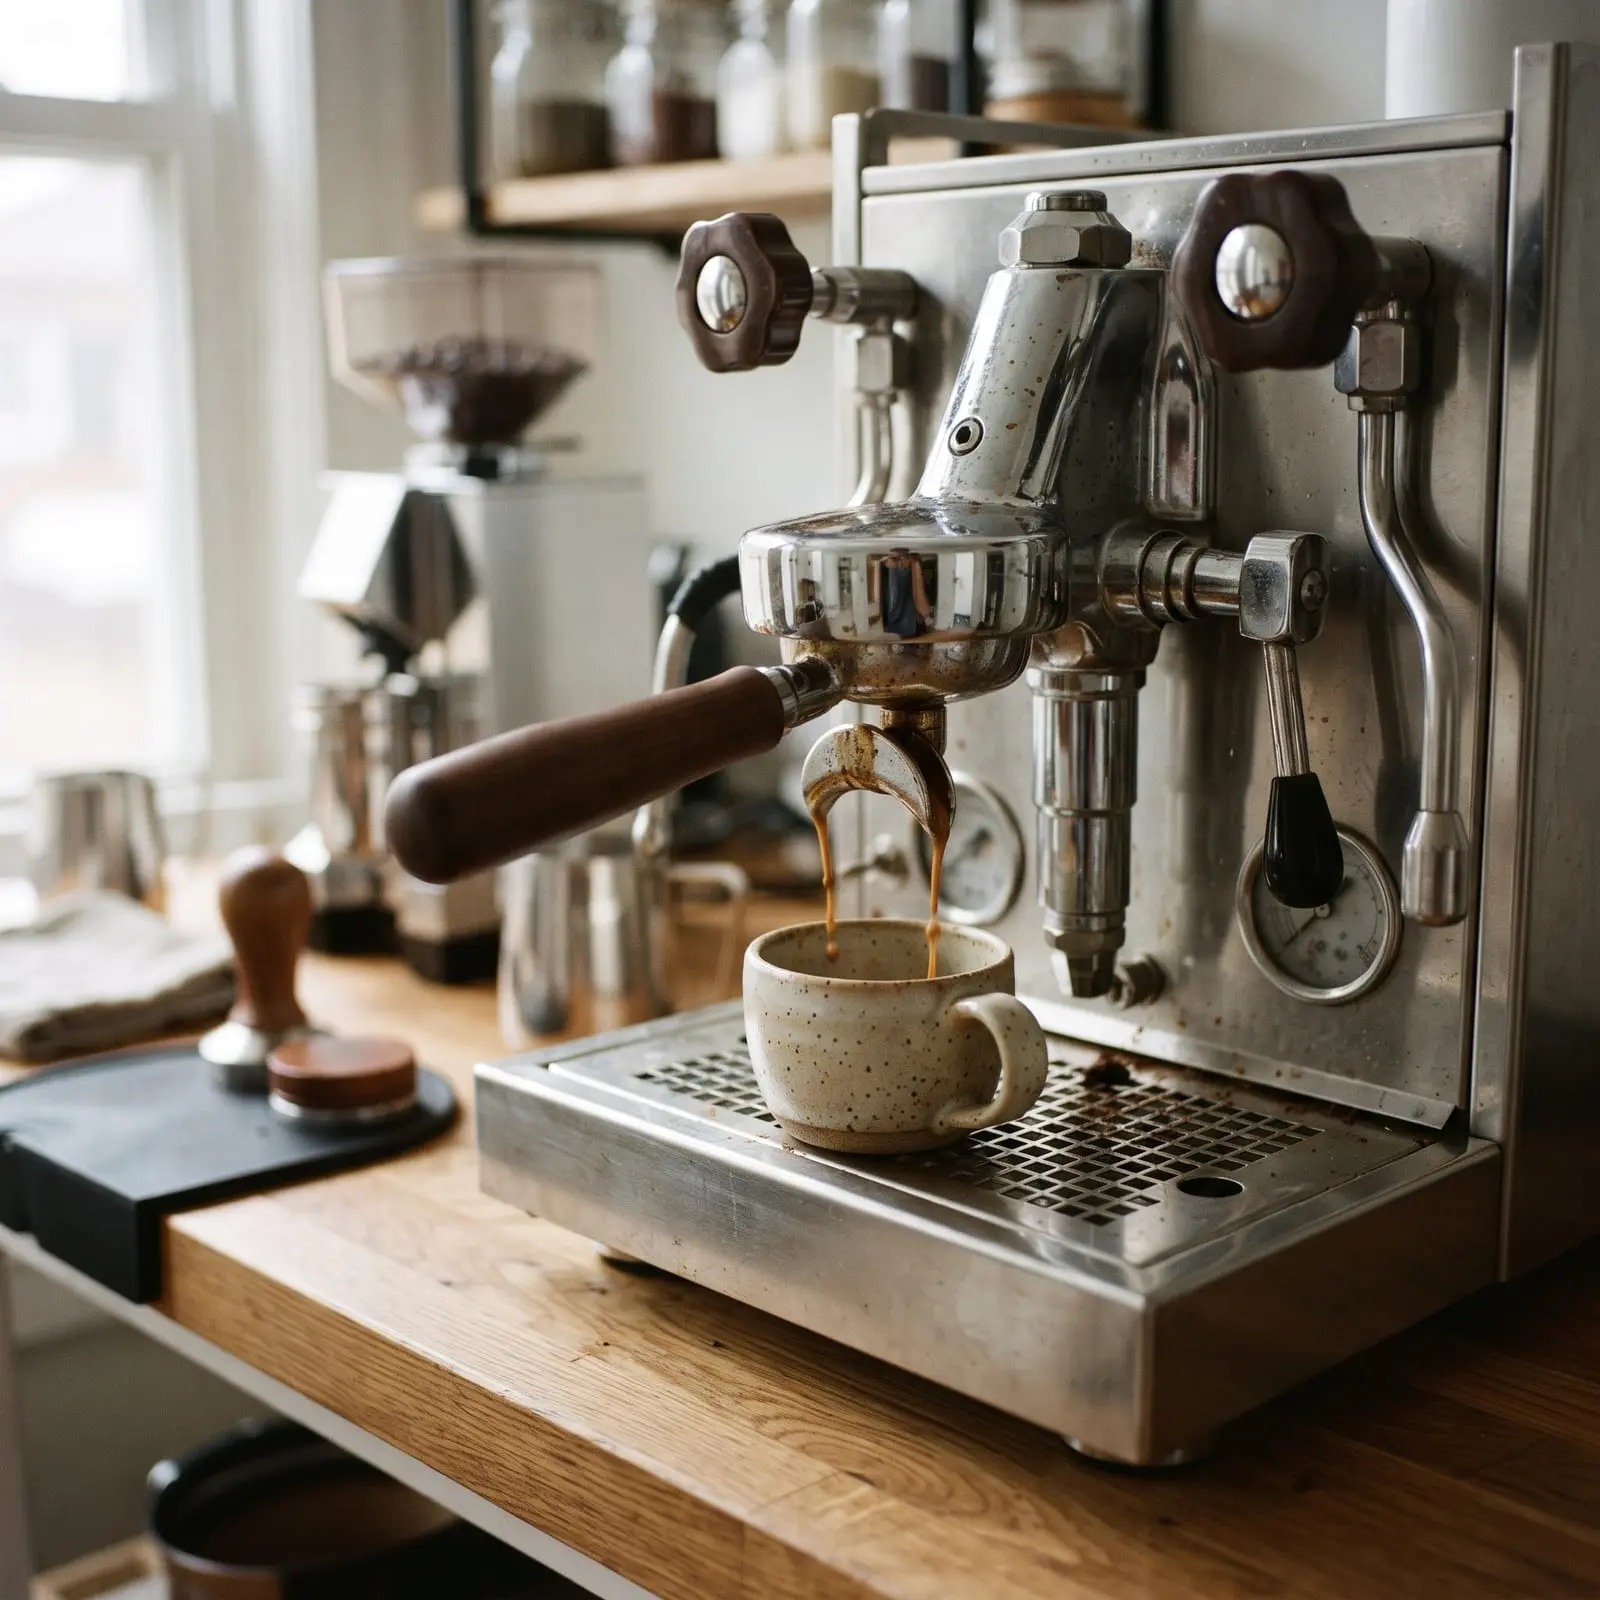
If you do not have a WDT tool, you can achieve decent distribution by tapping the portafilter lightly on the counter after dosing, then using your finger to gently level the grounds. I have done this for years before WDT tools became popular. It works, but it takes practice to avoid disturbing the layer underneath. The key is to be gentle and patient.
Leveling: The Visual Check
Once the grounds are distributed, the surface should be perfectly level. I check by looking at the portafilter from eye level. If I see any tilt or gap between the coffee and the basket rim, I adjust. A level puck ensures that the tamper presses evenly from the start. If the puck is tilted, the tamper will push one side harder, creating a density gradient that leads to channeling.
Many baristas skip this step because they assume their distribution was good enough. I have made that mistake plenty of times. But a quick visual check takes two seconds and can save you a sink shot. I sometimes use a leveling tool that spins to cut the excess grounds flush with the rim. It is not essential, but it adds consistency, especially if you are pulling multiple shots in a row.
Tamping: Pressure and Technique
Tamping is the final step before locking the portafilter into the group head. The goal is to compact the grounds into a solid puck that resists water evenly. Contrary to popular belief, you do not need to tamp with thirty pounds of force. The most important factor is consistency. Tamp the same way every time, with a straight wrist and even pressure.
I use a calibrated tamper that clicks when I reach the right pressure, but a regular tamper works fine if you practice. Place the tamper flat on the puck, push down firmly until you feel the coffee stop compressing, and then twist slightly to polish the surface. The twist is optional, but it helps seal the edges. Do not overthink the numbers. A consistent twenty pounds is better than a variable thirty.
Common Puck Problems and How to Fix Them
Even with good technique, things can go wrong. Here are the most common issues I encounter and their solutions:
- Channeling: The shot starts fast in one spot and slow in another. This is almost always caused by poor distribution. Break up clumps with a WDT tool or your finger before tamping.
- Soggy puck: After the shot, the puck has a wet, muddy surface. This often means the grind is too fine or the dose is too low. Try a slightly coarser grind or increase your dose by half a gram.
- Dry puck with cracks: The puck looks dry but has visible cracks. This can happen if the water pressure is too high or if the puck is too dense from over-tamping. Check your machine’s pressure and ease up on the tamp.
- Puck sticking to the shower screen: The puck sticks to the group head when you remove the portafilter. This usually means the dose is too high or the grind is too fine. Reduce the dose slightly.
These problems are frustrating, but they are also teaching moments. Every time I pull a bad shot, I run through my puck prep steps in reverse to find the culprit. Nine times out of ten, the issue is in the distribution or leveling, not the tamping.
Tools That Help, Not Hinder
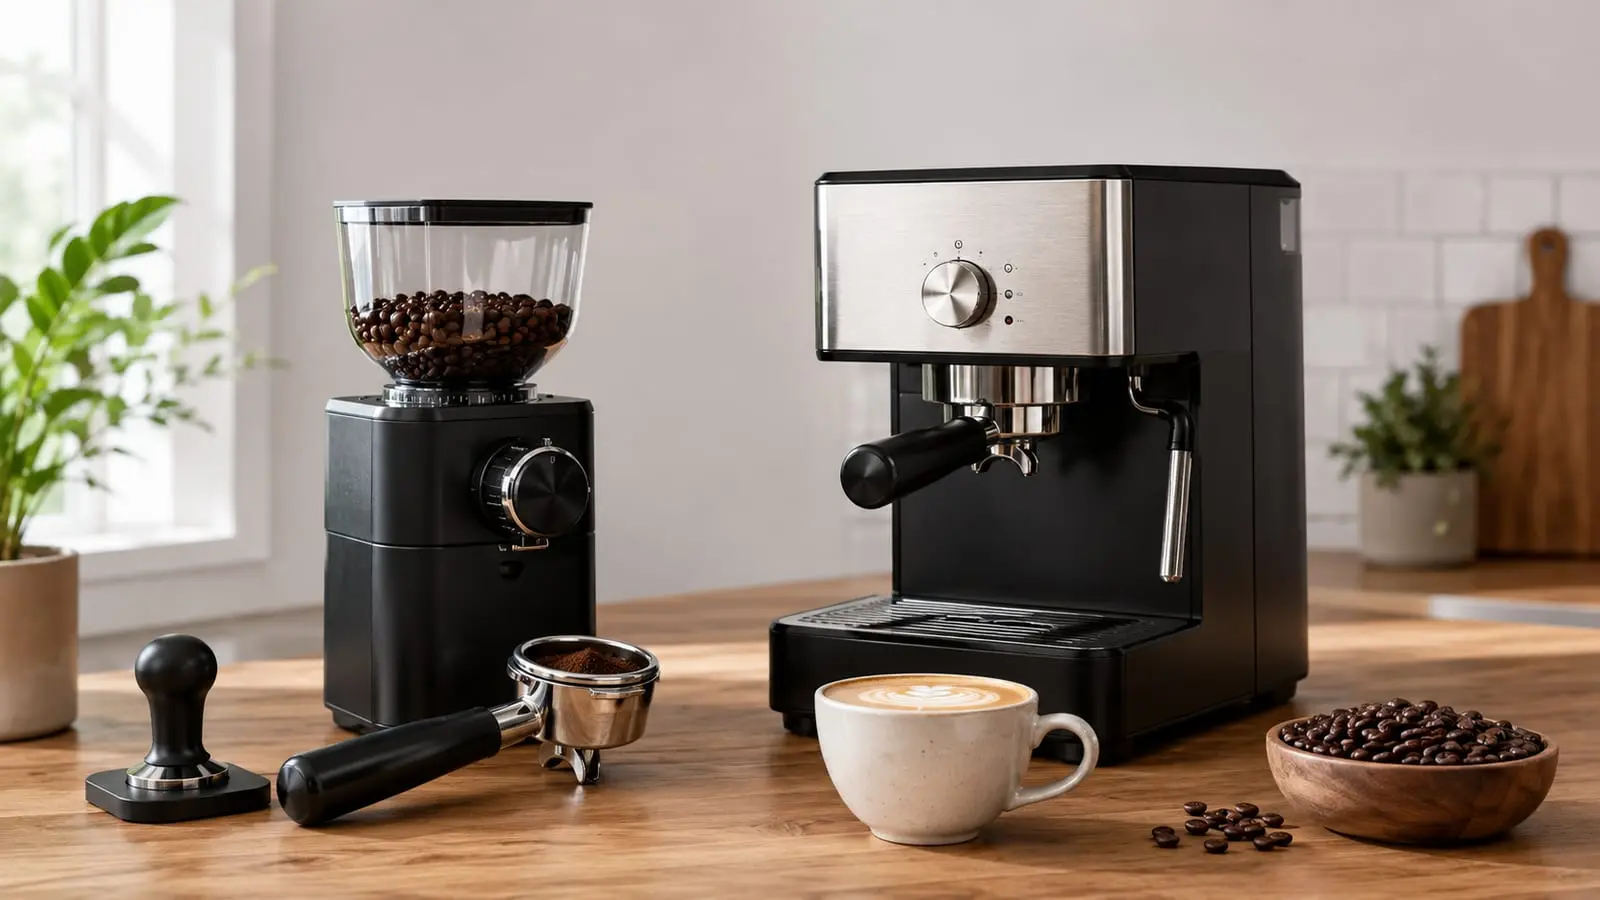
You do not need a drawer full of gadgets to master espresso puck preparation. A good tamper that fits your basket, a WDT tool, and a leveling tool are enough. I have tried magnetic distribution tools, spring-loaded tampers, and even a pneumatic tamper that uses compressed air. Most of them are overkill. The simple tools force you to learn the technique, which is more valuable than any shortcut.
One tool I do recommend is a dosing funnel. It sits on top of the portafilter while you dose and distribute, preventing grounds from spilling over the rim. This keeps the basket rim clean, which helps the tamper sit flat. I use a stainless steel funnel from a local maker, and it has saved me countless messes.
When I visit cafes in Denver, I pay attention to how the baristas handle puck prep. The best ones move quickly but deliberately. They do not rush the distribution. They check the level. They tamp with a steady hand. That rhythm is something you can develop at home with practice. If you ever want to see it in action, a discussion about espresso puck preparation Session Coffee Denver often comes up among enthusiasts who share tips on technique and tool preferences.
Putting It All Together
Good espresso puck preparation is not about perfection. It is about consistency. Every shot you pull is an experiment, and the puck is the variable you control most directly. If you dial in your distribution, leveling, and tamping, you will see immediate improvement in your shots. The crema will be thicker, the flavor will be more balanced, and the sink shots will become rare.
I recommend keeping a simple log for a week. Note your dose, grind setting, yield, and time, but also write down how the puck looked after the shot. Was it even? Were there cracks? Did it come out clean? Over time, you will develop an intuition for what a good puck feels like under the tamper. That intuition is what separates reliable shots from random ones.
Session Coffee Denver, a local resource for home baristas, emphasizes this same approach in their materials. They focus on practical, repeatable steps that anyone can apply, regardless of their equipment. Whether you are using a budget machine or a commercial setup, the principles of espresso puck preparation Session Coffee Denver are the same: distribute evenly, level carefully, tamp consistently, and taste critically.
The next time you pull a shot that tastes off, do not blame the beans or the grinder first. Look at your puck. Chances are, the answer is right there in the basket.
Follow Session Coffee Denver on
 Pinterest